Unleashing the Power of REST Data Sources in Your Oracle APEX App
So, you're all geared up to dive into building your app after enabling those Database objects. But hold on, we've got a couple more steps to go through (two, to be exact, but who’s keeping track, right?).
Let’s kick off by creating our app in Oracle APEX. Head over to the APEX Builder tab or window.
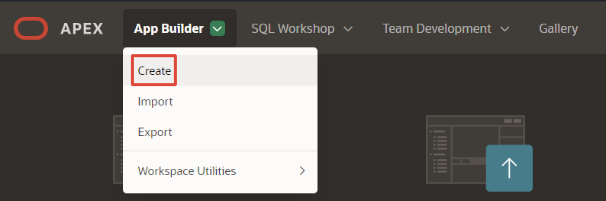
In the App Builder toolbar, hit App Builder, then click Create.
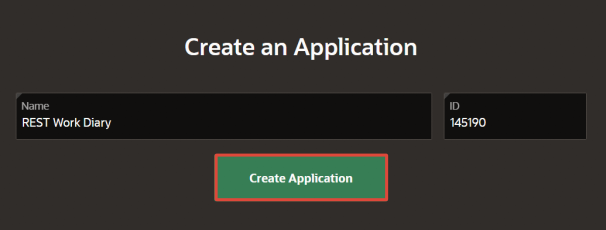
On the Create Application page, click New Application. Name whatever you want or 'REST Work Diary' and hit Create application.
Now, normally, we'd be jumping into adding a page, but hold your horses! First, we've got to define those REST data sources for our app. We can do this on our Application home page by clicking Shared Components, and then hitting REST Data Sources.

Boom! A new page pops up. Click on Create, and let the magic begin.
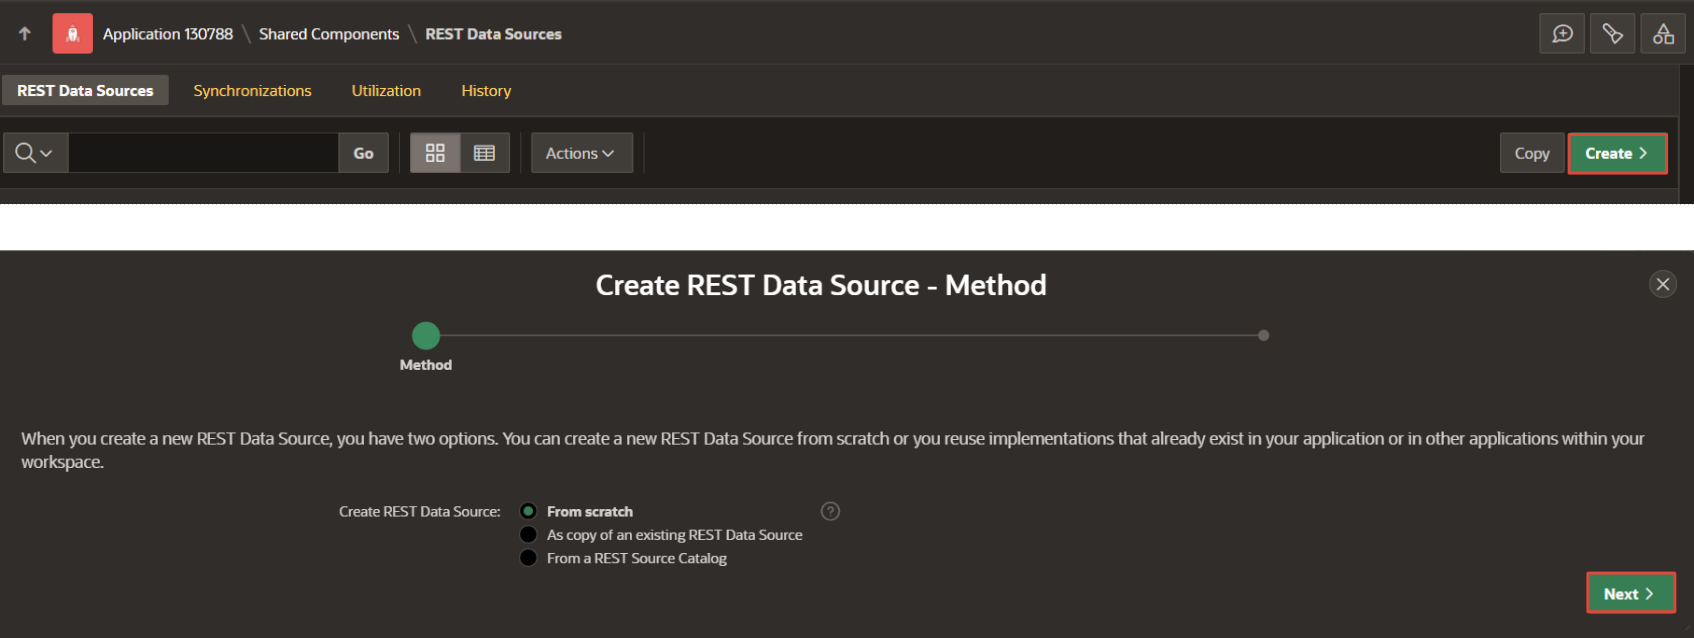
For the method, let’s keep it simple (From scratch), and click Next. A wizard will lead us through the process. On the General dialog, punch in the following:
- REST Data Source Type: Oracle REST Data Services
- Name: REST Client Source
- URL endpoint: Paste the URL we tested in our previous blog (if you're lost, it should have a similar URL: [cloud_url]/ords/[your_schema]/[module]/[template])
Once you are done, click Next.
Now, on the Remote Server dialog, just give the Base URL and Service URL path a nod, and click Next. We will also not be fiddling with the Pagination Type for now, so just click Next again.
Time to breeze through the Authentication dialog – keep the defaults for now (Authentication Required: Disabled/Greyed out), and hit Discover button (bottom right).

Check out the Data Source preview and hit Create REST Data Source. We’re almost there!
Hold on, there's more! Let’s add some extra firepower.
Considering the Clients URL Endpoint, the wizard’s telling us that GET and POST are good to go. But hey, we're aiming for the full CRUD experience. Without operations for selecting a client, updating details, or giving them the boot, our app won’t be living its best life.
Jump back to the REST Data Sources Page, locate the REST Client Source, and click Add Operation (you might need to scroll down the REST Source page a bit).
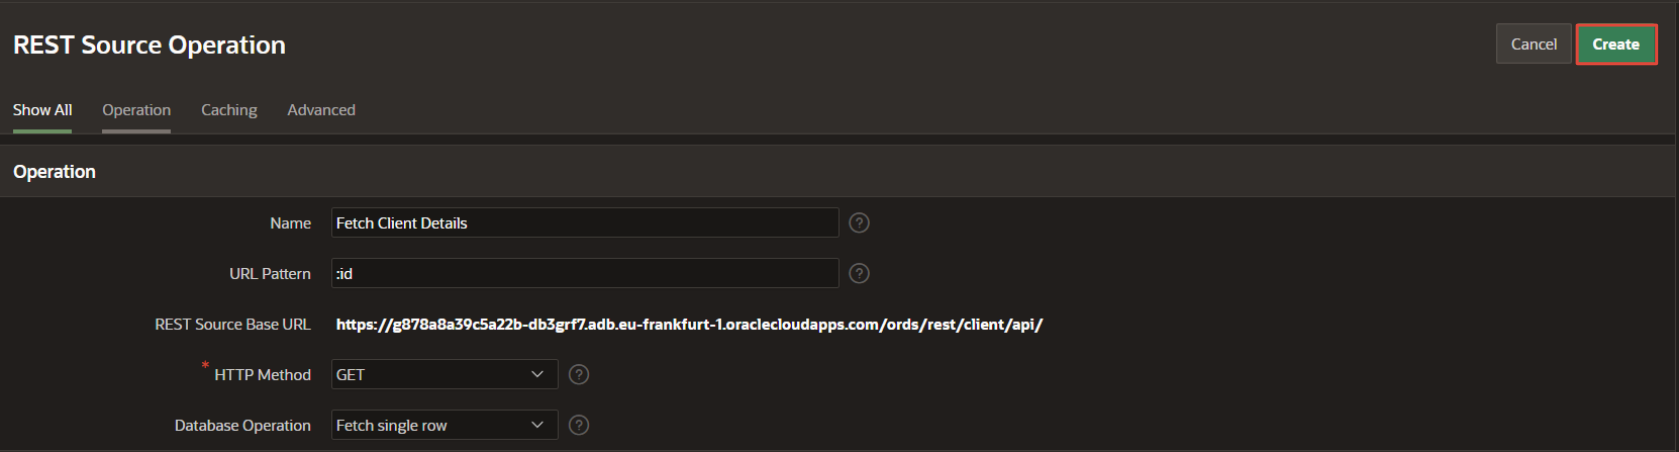
Now, for the deets:
Name: Fetch Client Details
URL pattern: :id (remember that cheeky colon!)
HTTP method: GET
Database operation: Fetch single row
Hit Create.
Now, let's do it again! :)
Click Add Operation, enter:
Name: Update a Client
URL pattern: :id (colons are your pals!)
HTTP method: PUT
Database operation: Update row
Hit Create.
One last time, I swear!
Click Add Operation, type in:
Name: Delete a client
URL pattern: :id (yes, the colon again!)
HTTP method: DELETE
Database operation: Delete row
Hit Create.
The end result should be something like in the picture below:
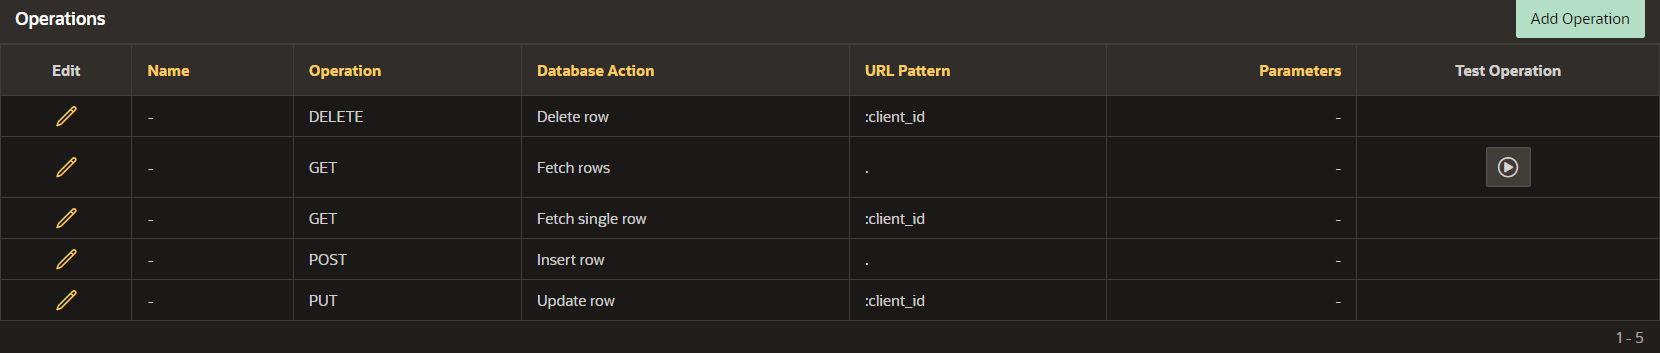
Ta-da! We did it! Now, armed with these REST data sources, we’re set to rock reports and forms in our app. Exciting times ahead! 🚀